
Friday, June 29, 2012
Leaking Refrigerators
Customer complaint: I have to keep cleaning water up from underneath the refrigerator crisper drawers
Solution to the problem: Clean the refrigerator defrosts drain tube.
Every time the refrigerator goes into a defrost cycle (every 8-10 hrs) the water that is created should run down a tube to the bottom into a pan at the bottom of the refrigerator.
If the defrost drain tube gets plugged up then the water will back up and not be able to drain into the pan. More....
Monday, December 12, 2011

Wednesday, September 21, 2011
ED5GHEXNL00 Unit Parts
ED5GHEXNL00 Unit Parts


ED5GHEXNL00 Air Flow Parts


ABB2222FEB Amana Refrigerator Compressor Components


ABB2222FEB Controls Parts Breakdown

ABB2222FEB Part 12868513 Main-Control-Board


Saturday, September 17, 2011


Thursday, September 15, 2011
10653332300 Kenmore Whirlpool Ice Maker Parts
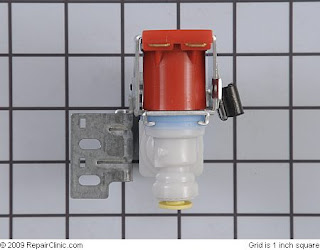
That does not sound like the inlet valve because if so there would be an icy mess in your freezer. You can try to set the adjustment screw behind the front cover on the right center of the W10190935 Control Module Below tells you all you need about your question and I find interesting=> Broken Ice Maker Repair Very little change on the amount of water setting screw positive or minus. If your mold coating is bad it makes things harder. I would ask around because buying single parts cost more. The=> 4389178 Water Inlet Valve should you need one. Tell me how things work out, Thanks, Sea Breeze


Wednesday, September 14, 2011
Here is how to test a Maytag MSD2756GEW Auto Damper
1 Turn power off to refrigerator.
2 Open the fresh food sections door and remove all items on top shelf.
3 Adjust the fresh food control to its coldest position.
4 Remove the light shield by pulling down on the back corners of the cover and then slide the cover forward.
5 Remove the edge sealing device, radiant shield supporting screws at the back bottom center of the control housing mounting screw at back, bottom center of the control housing. Slide the control housing to the right and lower the housing.
6 Disconnect the temperature control housing from electric quick disconnect.
7 Remove the temperature control housing from the refrigerator and then place on a
flat work surface.
8 Remove the auto damper control rod retainer, control rod and the slide control
gear from the auto damper control.
9 Now turn the control housing over.
10 Remove the two auto damper mounting screws, then remove the auto damper from the control housing.
11 Mark the auto damper rod about 1/4 in. from and away from the housing.
12 Uncoil the auto damper capillary tube at about 4 in.'s
13 Submerge into a glass of ice (not water). then watch for door to move to the closed
position.
14 Remove from ice and warm capillary tube with your hand. Then watch door for an
opposite reaction.
15 If no movement is detected, replace the control. 61005971 Damper Control Assembly
Subscribe to:
Posts (Atom)
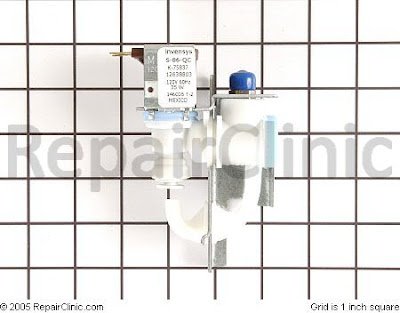
452192 Defrost Heater below that Da74-40149D Water Control Valve

 WR55X10444 and 1156701 Dispenser Control Board

 NEED HELP AND PHONE OR CHAT HELP? CLICK HERE=> SEA BREEZE
 IF MY HELP HAS HELPED YOU, PLEASE CONSIDER A DONATION
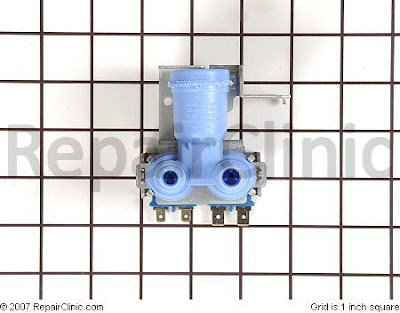
 67005154 Dual Water Control Valve
 WR50X10068 Defrost Thermostat
 TESTING FOR A BURNED OUT COMPRESSOR PART 1
TESTING FOR A BURNED OUT COMPRESSOR PART 2
TESTING FOR A BURNED OUT COMPRESSOR PART 1
TESTING FOR A BURNED OUT COMPRESSOR PART 2


